18.06.2023
Deploying a Reagent application
Simple setup deploying ClojureScript applications using Github Actions and Glitch
So you have a Reagent application you want to deploy somewhere. Probably, you have experience deploying frontend applications on platforms like Vercel, Netlify or Render. You try this with your ClojureScript application and quickly find out that none of these platforms support building ClojureScript applications, because the build environment lacks Java.
This article walks you through creating a simple continuous deployment setup using Github Actions and Glitch.
Setting up a Glitch project
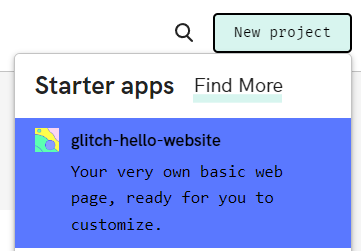
Create or login to your Glitch account, then create a new
‘glitch-hello-website’ project. You should now have a simple static site
project with an index.html, script.js and style.css.
Next, open up the Glitch project terminal and run this command:
git config receive.denyCurrentBranch updateInstead
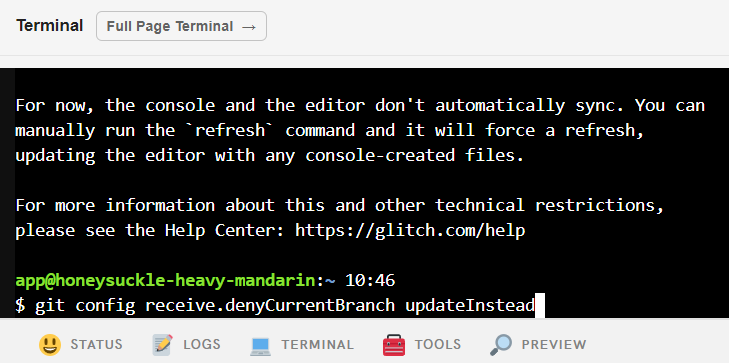
This allows you to later push updates to your Glitch project. You only need to run this command once.
The Glitch Git repository
Your Glitch project has a Git repository which you can access. To find the URL of the repository, click ’tools’ then ‘Import and Export’. You should now see the URL. Take note of this URL for now. You will need this later when writing the Github Action.
Setting up Github Actions
Secrets
Since the Glitch Git URL is a private URL, you should create a repository secret. To set this up, navigate ‘settings’ -> ‘Secrets and Variables’ -> ‘Actions’ -> ‘New repository secret’.
Action
Create a main.yml file in a directory .github/workflow/ in your project
directory. In main.yml, use the following code.
# main.yml

# the name of the action
name: deploy

# when this action should be run
on: [push, workflow_dispatch]

# the jobs this action contains
jobs:

  # the name of the job as a key
  deploy:

    # the name of the job as a string
    name: Deploy to Glitch

    # the image that is used to run this job
    runs-on: ubuntu-latest

    # the instructions this job will execute
    steps:

        # checks out of the main branch and cd into the directory
      - name: Checkout Repo
        uses: actions/checkout@v3

        # sets up Java since Clojure/Script requires Java
      - name: Setup Java
        uses: actions/setup-java@v3
        with:
          distribution: 'adopt'
          java-version: 17

        # sets up Node since Shadow CLJS requires node
      - name: Setup Node
        uses: actions/setup-node@v3
        with:
          node-version: lts/hydrogen
          cache: 'npm'

        # install node dependencies
      - name: Install Dependencies
        run: npm install

        # Now all my project dependencies are installed,
        # it is time to build the project. You should customize
        # these steps to suit your project

        # Build project
      - name: Build project
        run: npx shadow-cljs release app

        # Here you clone the Glitch repo and reference the
        # URL you saved as a repository secret
      - name: Clone Glitch Repo
        run: git clone ${{ secrets.GLITCH_REPO }}

        # Now you need to copy your assets, replacing
        # the files in the Glitch repo. Make sure to copy
        # all the assets that you need for a working application.
        # Once done, commit and push your changes
      - name: Update and push changes
        run: |
          cd project
          git config user.email "YOUR@EMAIL"
          git config user.name "YOUR NAME"
          git pull --rebase
          cp ../public/index.html .
          cp ../public/main.js .
          cp ../public/style.css .
          git add .
          git commit -m "build and deploy"
          git push
Take Away
Now whenever you push changes to your repository, this action will run, build your project and push the public assets to your Glitch repository! I use this setup for my project Mayfly.